HortusFox
HortusFox documentation
Project maintained by hortusfox Hosted on GitHub Pages — Theme by mattgraham
Themes
Installing themes
Themes are useful to allow your users to get a more personal UI. Users can select their desired theme in their preferences. To make themes available, admins must first install them into their system. You can download new themes from the official HortusFox homepage. After downloading the ZIP archive of your desired theme, you can then install it via the admin dashboard.
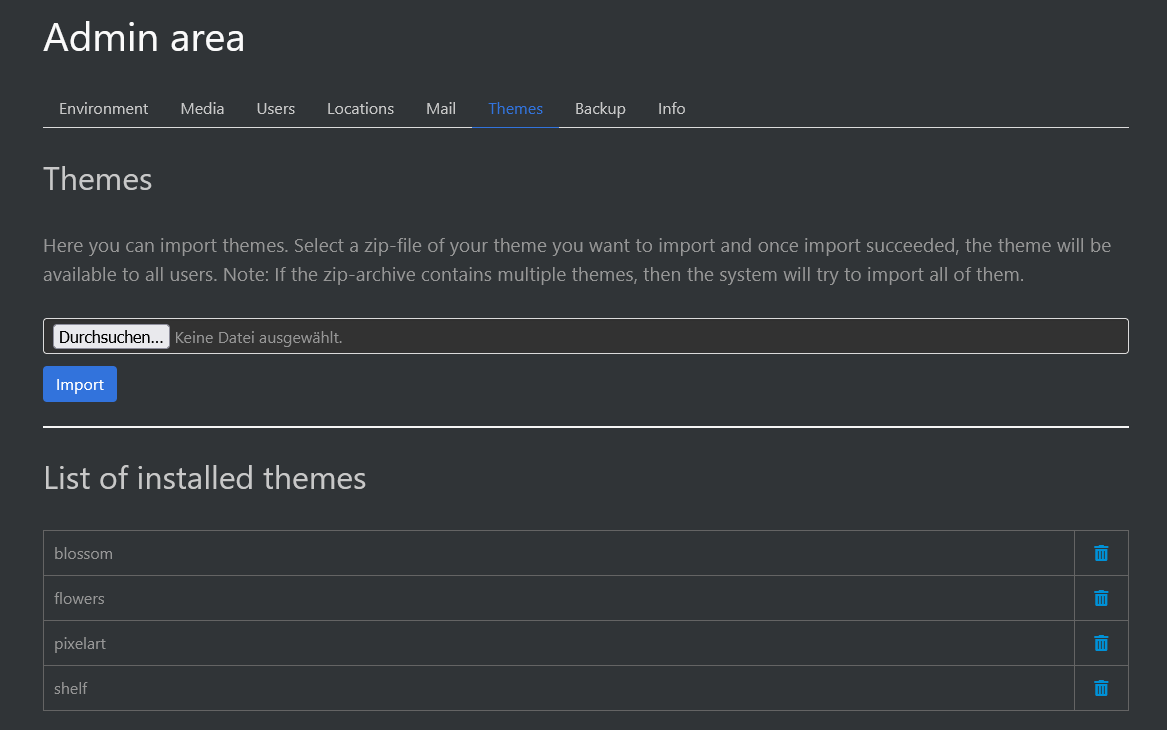
Below you can also see a list of themes that are installed to your system. If you want to remove a theme, then you can just click the trash bin icon to do so.
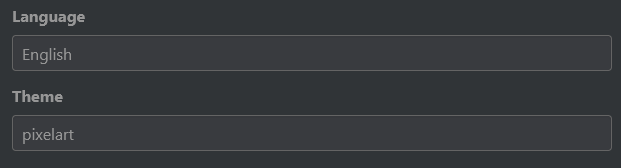
As a user you can just go to your profile page, click on the settings icon and then select your prefered theme.
Creating themes
Creating themes is pretty easy. They consist of a JSON file and at least a banner image. Additionally you can also specify two further images (an icon and an accessory image).
For instance, let’s examine the pixelart theme. Its files are located in a folder called pixelart.
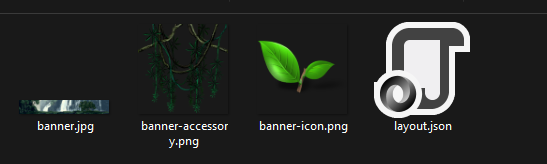
Now let’s open the layout.json file. It specifies all attributes of the theme.
{
	"name": "pixelart",
	"banner": "banner.jpg",
	"rules": {
		"height": "250px"
	},
	"icon": {
		"asset": "banner-icon.png",
		"base": {
			"top": "210px",
			"left": "195px"
		},
		"img": {
			"width": "72px",
			"height": "72px"
		}
	},
	"accessory": {
		"asset": "banner-accessory.png",
		"base": {
			"top": "172px",
			"right": "-83%"
		},
		"img": {
			"width": "256px",
			"height": "256px"
		}
	}
}
The name attribute must match the directory name of which the files are located in. Next you need to specify the banner image. All asset paths are relative to their theme directory. Now you can include a rules object. These rules are applied to the banner image.
Optionally you can also reference additional assets.
Reference a stylesheet file using the include attribute:
"include": "styles.css"
Reference a JavaScript file using the script attribute
"script": "behaviour.js"
For the optional icon, you need to specify the asset file. Next you can specify attributes to the base div container of the icon and the image itself. There are all valid CSS rules allowed to be specified here.
For the optional accessory asset you also need to specify the asset. Similar to the icon file you can now specify rules for the div container and the image itself. Again all valid CSS rules can be applied here.
To test your theme, just copy it to a local test workspace to /public/themes. When you are ready to ship your theme, compress it to a ZIP file and you can then
install this ZIP file on a HortusFox workspace.
Contributing themes
If you have made a theme you want to share, please create a PR in the associated repository. Approved themes will also be included as a download on the official HortusFox homepage.